I had the opportunity to design and teach a class at my Local Scrapbook Store PaperCandy Crafts. I am so blessed to get to do what I love and get paid to do it. I chose the Graphic 45 Christmas Emporium paper line. Its got fabulous vintage graphics and the patterns on the papers are just so luscious. I fell in love with this paper on sight. I use the Tim Holtz Tattered Pinecone die to make pinecone for the top of the box. The Santa on the cover was just begging to be fussycut and dimensionalized. I love how he turned out. I added stickles to the ornaments on the tree. I popdoted the banner and the naughty and nice list. I curled the ends of the list to follow the lines the paper already had.
I added the chipboard elements to the side front of the box to add detail to it. I tried to keep it simple so it would be easy to store or give as a gift.
I added a peak a boo spot on the top of the mat for this page. I added an envelope with an invisible hinge to hold tags.
For page two I put a border on the bottom to hold vintage postcards that came in the paper line. The images on these postcards are fabulous. For page three I fussy cut the holly wreath paper to get a border for the top of the photo mat. I added an image on the side again using the invisible hinge. I put a chipboard piece on the top side of the photo mat.
On page four I went really simple and used a photo mat with a Martha Stewart border on the bottom with some green ribbon to hold some more of the vintage postcards. On page five I gave the page two photo mats and a chipboard frame from the collection. The top of the frame remains open and ready for a picture. I added a sentiment from the paper over the frame.
On page six I used a photo mat wrapped with photo corners in ribbon. I added a chipboard picture to the left side of the mat with bakers twine from Martha Stewart.
On page seven I added a photo mat a border strip which I tied ribbon to and added a chipboard element hanging off of. For page eight I added a facing photo mat and mirroed the border on the other side. I used a chipboard ticket saying Peace next to the stamped image border.
For page nine I used a border on the bottom with tinsel trim, a Tim Holtz stick pin, and a stamped statement from Close To My Heart. On the top of the page I used one of the chipboard frames and backed it with the tree from the Santa paper that was left over after I fussy cut out the Santa. I left the top of the frame open and ready for a picture but thought it just added a nice touch to have that tree peaking out of that frame. For page ten I used the music sheet paper, again making a pocket to hold tags. I added another border to the top of it using the Martha Stewart punch from previous pages so the album has cohesiveness.I added chipboard tags to the top of the paper tags and tied them off with ribbon that says Merry Christmas. I used a thin strip of ribbon to the center of the paper to follow the line across both pages for visual evenness. I love the way this album turned out.
On page eleven I added a holly print to the bottom and left it open to hold photo mats. I added a pretty border to the top of it and added some chipboard tickets to the bottom which I used red line tape on so you can stick something behind the tickets. For page twelve I added a photo mat made a border in the corner, used ribbon and added a photo mat on top of that. I hope you liked this album and stay tuned to see how the class went as I will post pictures.
Monday, November 14, 2011
This is a two page layout I designed using Close To My Heart's Elemental Papers. I love the Close To My Heart papers because everything coordinates so well and when I want to pound a layout out all my inks, embellishments, and papers all match without me spending hours figuring it out.The die cut in the upper right hand corner is cut on the Cricut using the Art Philosophy cartridge available exclusively at Close To My Heart. This cartridge has over 700 images, comes with three coordinating stamp sets, and three sets of Dimensional Element chipboard shapes. Its my favorite cartridge and the last two months I have used this cartridge exclusively.
I used the Martha Stewart Floral Tile Punch Around The Page punch. I loved using this. It was easy to line up, the magnets hold the paper in place, and it added just the decorative element to perfectly compliment the Elemental papers.
I added some Tim Holtz stick pins and used the butterflies from Close To My Heart to add a decorative element with whimsy to this page. The circle chipboard piece is from the Elemental Collection. I inked the butterflies with the Sunset and Lagoon ink.
I made the flower using the 2 inch scallop punch from Close To My Heart. I inked the edges and crinkled them to give them dimension. Again, I added a Tim Holtz stick pin and stamped two hearts with Lagoon ink. The stamp set is from Close To My Heart. The stamped swirl on the journal spot is also from Close To My Heart. Its called Love Life.
You can find all these things by visiting my consultants site at:
http://www.scrapnhearts.myctmh.com
I have been busy getting stuff done and just plain crafting. My kids are gone for most of the day and so I have plenty of time to get stuff done.
This is a frame I made for a craft night at church
I made this frame for my friends daughters new room.
I made this Christmas frame with punches from Martha Stewart. I love this snowman punch so much!
This little guy door hanger was a make and take at my Close To My Heart consultants house. I think he turned out fabulous and I hope she makes one in Santa for Christmas.
Thursday, November 3, 2011
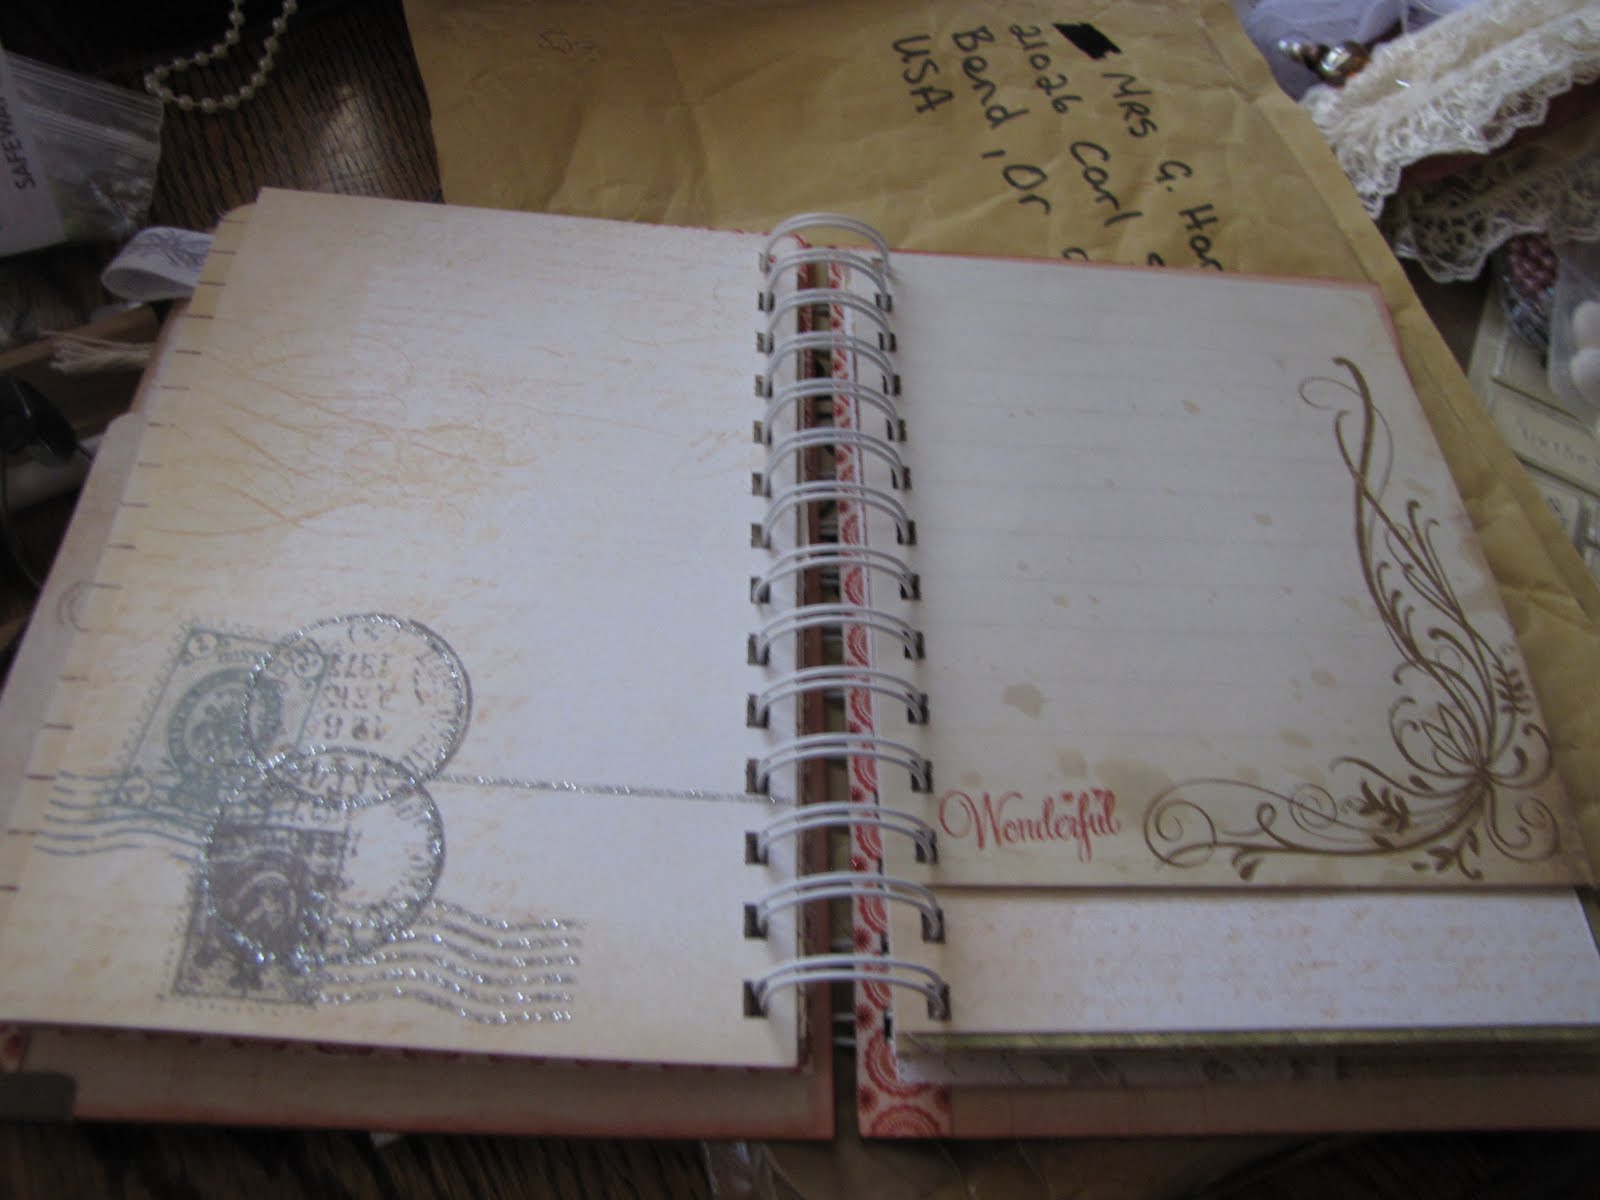
These are some pictures of a Junk Journal for a swap over at LHS. I had originally made another album but it was cost prohibitive to send internationally. I hope my swap partner enjoyed the finished project.
Thanks for looking. I am hoping to stay caught up on my blog but life just seems to be getting in the way Ladies. Have a great day.
I am a stay at home mom to three kids with three kids already out of the house. I love being crafty and if you ask my 9 year old son what I do he says, "She scrapbooks"